Refrigerator Repair
Viking Refrigerator Door Gaskets: How Often to Clean and Test Them
Written by Ambrose Fitzwilliam Service technician — refrigeration and sealed systems · 25 years in the trade
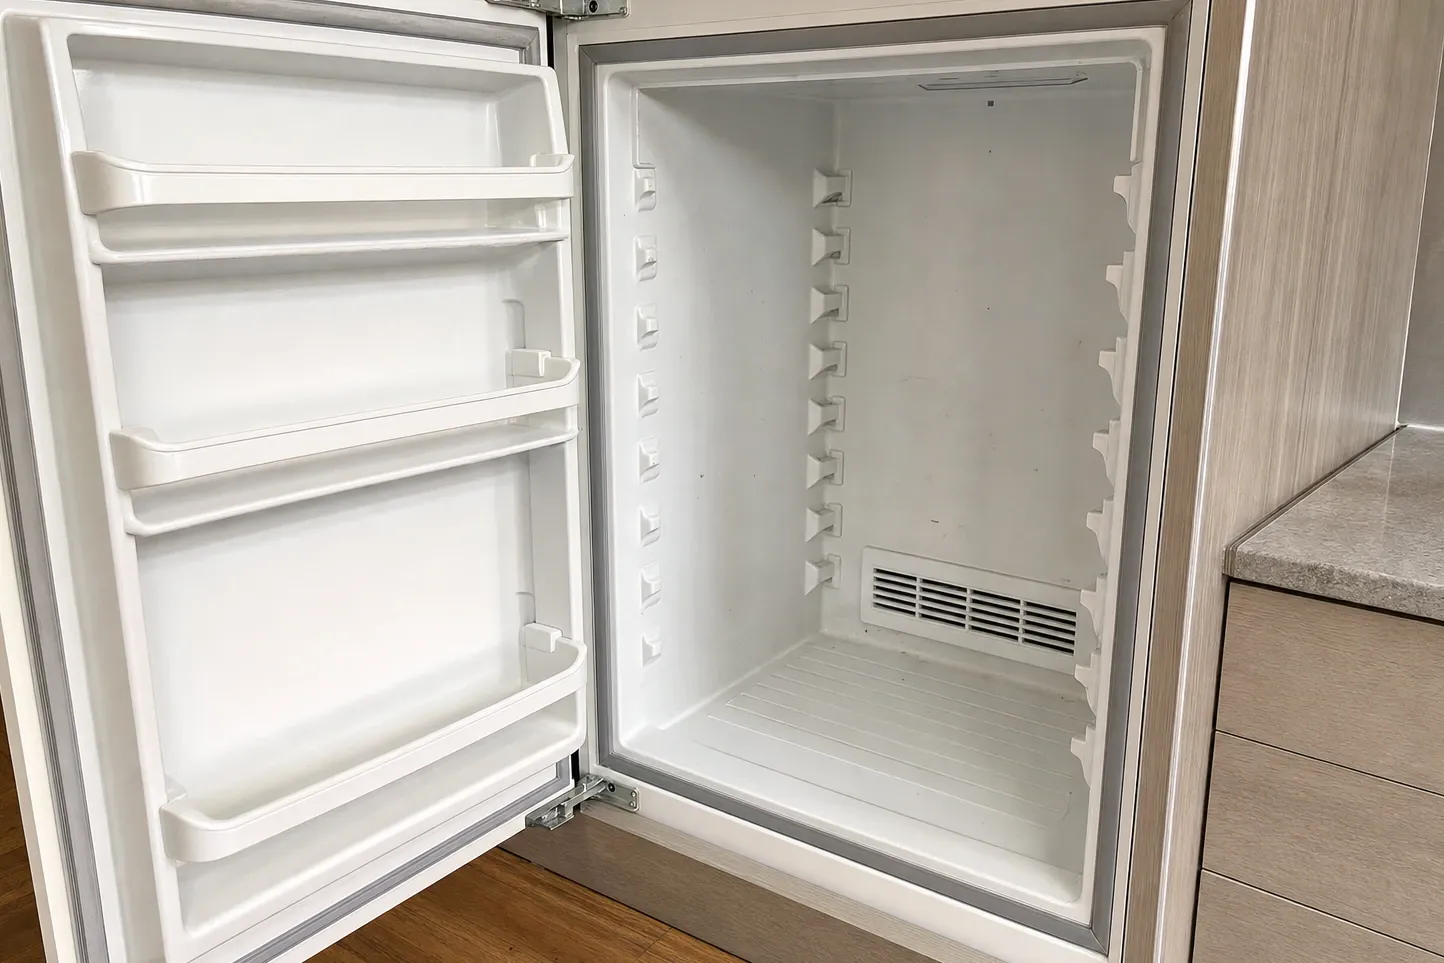
Viking’s own schedule for its built-in refrigerators is every three months: give the door gaskets the same bath Viking suggests for the inside of the cabinet, meaning warm water with a little mild detergent or warm water carrying 4 tablespoons of baking soda per quart, let the rubber dry, and finish with a light film of petroleum jelly so it stays soft. That quarterly wipe is the cheapest thing you can do to keep a built-in column holding its temperature. In a Los Angeles kitchen the seal gathers more than crumbs, too. Cooking grease settles on the door edge, and the dusty Santa Ana days of autumn leave fine grit packed into the folds, where it stops the rubber from closing flat.
The quarterly clean, done properly
- Mix the solution in a bowl: a few drops of mild dish soap in warm water, or 4 tablespoons of baking soda per quart. Skip bleach, solvent sprays and scouring pads.
- Swing the door all the way open and work around the gasket with a soft cloth, pushing into every fold of the bellows. Spilled juice and crumbs hide in the bottom corners, and an old soft toothbrush reaches them.
- Wipe again with a cloth dampened in plain water, then dry the whole gasket, including the hinge side you can only reach with the door at full swing.
- Put a pea-sized dab of petroleum jelly on a cloth and spread it thinly across the face of the gasket, the surface that meets the cabinet. Buff away anything you can see shining, because a heavy coat holds dust.
Tie the job to something you already do four times a year, such as the change of the clocks or a quarterly bill, and it stops being forgotten.
Two quick tests for a tight seal
Cleaning keeps the rubber healthy, but it cannot tell you whether the door actually closes tight. For that, trap a slip of paper in the closed door, moving it to a few spots on each side in turn: top, latch edge, bottom and hinge edge. Draw it out slowly every time. You should feel the same firm drag at every point; a spot where the paper slips out freely marks a gap.
The second test works after dark. Set a small flashlight inside the fresh food section aimed at the door edge, close the door and switch off the kitchen lights. A thin line of light escaping anywhere around the frame shows you exactly where the seal is not touching.
While you are there, look at the gasket itself. A good one is round and springy. Flattened sections, splits, a permanent crease near a corner or rubber that has gone hard and shiny all point toward replacement rather than more cleaning.
When the gasket is fine but the door is not
A clean, supple gasket still leaks if the door hangs crooked. Built-in doors are heavy, a custom wood panel adds more weight, and door shelves loaded with bottles pull the latch side down over time. Stand back and compare the gap between the door and the cabinet surround. It should look even from top to bottom. A door that sits lower at the latch corner, or one that no longer swings closed on its own from part-open, usually needs a hinge adjustment. Before you blame the hardware, check inside for a crisper drawer left proud, a shelf pushed too far forward or a tall carton touching the door liner.
What a leaking seal costs you in cooling
ENERGY STAR’s advice for any refrigerator is to keep door seals airtight, replace them when they are not, and hold door openings short. A gap breaks all three at once. Warm, humid air slips in around the edge, the compressor runs longer to chase it, and the moisture freezes onto the evaporator and around the freezer opening. You may notice beads of water on the cabinet face, frost on packages near the door or ice cubes fused into a block.
On a 5 Series built-in, the display often tells you before the food does. HIGH TEMP lights when a compartment has been too warm for two hours, and DOOR OPEN blinks after a door has stood open more than three minutes. Press ALARM OFF to clear either one, but if HIGH TEMP keeps returning with every door shut, test the seal before anything else. Out of the box these models hold the fresh food side at 38°F and the freezer section at 0°F, and after any change Viking says to allow 24 hours for the cabinets to settle, so do not chase the dial while a door is still leaking. In Tarzana and Toluca Lake, where Valley summer afternoons run hotter than the basin, a weak seal tends to show itself first.
Fitting the gaskets into the rest of the year
| Task | How often | What to do |
|---|---|---|
| Door gaskets | Every three months | Mild detergent or baking soda water, dry, thin film of petroleum jelly |
| Condenser, integrated models | Every 6 months | Follow the CHECK COND. reminder or a blinking CL |
| Condenser, 5 Series | When it looks dusty | Vacuum with a long, narrow attachment |
On integrated models, the CHECK COND. reminder means switching the unit off with the ON/OFF key for about 3 seconds, waiting about 30 minutes, lifting off the grille under the door and vacuuming the condenser with a soft brush before restarting and resetting the reminder. The 5 Series uses a Super Clog-Resistant condenser that normally needs no attention at all.
What you can fix and what needs a technician
You can handle the cleaning, the petroleum jelly, clearing anything that blocks the door and pressing a gasket back into its channel if a corner has popped loose. A crease that formed during a move sometimes relaxes if you warm it gently with a hair dryer on low, keeping the air moving.
Call for help when the gasket is torn or will not hold its shape, when the door sags or will not close itself, or when the seal passes both tests and the cabinet is still warm. That last case is covered in our page on a Viking door that will not seal and in the guide to a warm refrigerator with a cold freezer. If it turns out to be a fan or defrost fault, that work typically falls between $300–$610, with the firm figure given after diagnosis. Diagnosis costs $89, and that charge is folded into the repair price if you decide to proceed. Homeowners in Windsor Square, Beverly Grove, Tarzana and Toluca Lake can book through our Viking refrigerator repair page or call (213) 799-7879.
Follow-ups
How often should I clean the door gaskets on a Viking built-in refrigerator?
Every three months. Sponge them with warm soapy water made with a mild detergent, or use 4 tablespoons of baking soda for each quart, let the rubber dry, then rub in a thin film of petroleum jelly so it stays flexible.
Can a dirty door gasket stop my Viking refrigerator from cooling?
It usually makes it cool poorly rather than quit outright. A sticky or gapped seal lets warm, damp kitchen air in, so the compressor runs longer and frost collects. If the seal tests tight and the fresh food side is still warm, look instead at a fan, the defrost system or the sealed system.
Can I use bleach or a scouring pad on the gasket?
No. Stay with mild detergent or the baking soda solution Viking describes. Bleach, solvent cleaners and abrasive pads dry out and scratch the rubber, and a roughened face never seals as well as a smooth one.
Why does my Viking refrigerator show DOOR OPEN when the door looks shut?
On 5 Series built-ins, DOOR OPEN blinks once a door has been open more than three minutes, so a door resting a fraction off its seal can set it off. Look for a drawer, bin or tall bottle holding it out, then run a paper test along the edges. Press ALARM OFF to silence the alert.
What does it cost to have a technician look at a door that will not seal?
The visit and the full diagnosis are $89, and that amount is taken off the repair once you approve the work. The technician checks the gasket, the hinges and the cooling before giving you a firm quote.